
Shopify for Ecommerce: How Does Shopify Work?
by Jacob Baadsgaard • May 22, 2018


You’ve got your products and your offers ready and you’re set to start selling online. And then you realize that the technical side of how to do this is a little murky.
Ecommerce software is the answer, and more than 600,000 ecommerce brands have turned to Shopify to manage their online stores. Shopify is the total solution that most commerce businesses are looking for (even if they don’t know that yet) and it acts more as an ecommerce platform than just helpful software.
So how does Shopify work exactly, and what makes it the ideal choice for so many ecommerce businesses?
In this post, we’ll answer those questions and show you how to set up your online storefront for success.
What is Shopify and Why Should I Pick It?
Shopify is a one-stop-shop for setting up an ecommerce site. Through Shopify’s simple dashboard, you’ll be able to create a fully customized site with themes and apps that are designed to make your customer’s experience—and your experience—exceptional.
If you were to host your own site, you’d need to install different ecommerce solutions, analytics, security, and more. Shopify offers fantastic security and endless customization options so that you’re able to create the storefront of your dreams relatively quickly and without any advanced coding experience.
Shopify also has tools that can help you sell more in different ways, including in store and on social media platforms like Facebook, Instagram, and Pinterest. The sky really is the limits with this platform, and that will continue to be true as they keep developing new features.
How Does Shopify Work?
Forget spending thousands of dollars and waiting weeks for a designer to create your custom ecommerce site—you can actually create a fully-functional, high-performing Shopify store within several hours.
1. Sign Up
Signing up takes just a few minutes, and you can do it here. Shopify has a free 14-day trial that lets you check out the dashboard, set up your store and see if it’s a fit for you.
You’ll be asked to estimate revenue, name your store, enter in your information, and decide whether you want to sell in-store, online, or both. Fill out this information to the best of your ability—none of it is binding or truly permanent aside from your store’s name.
2. Choose a Theme
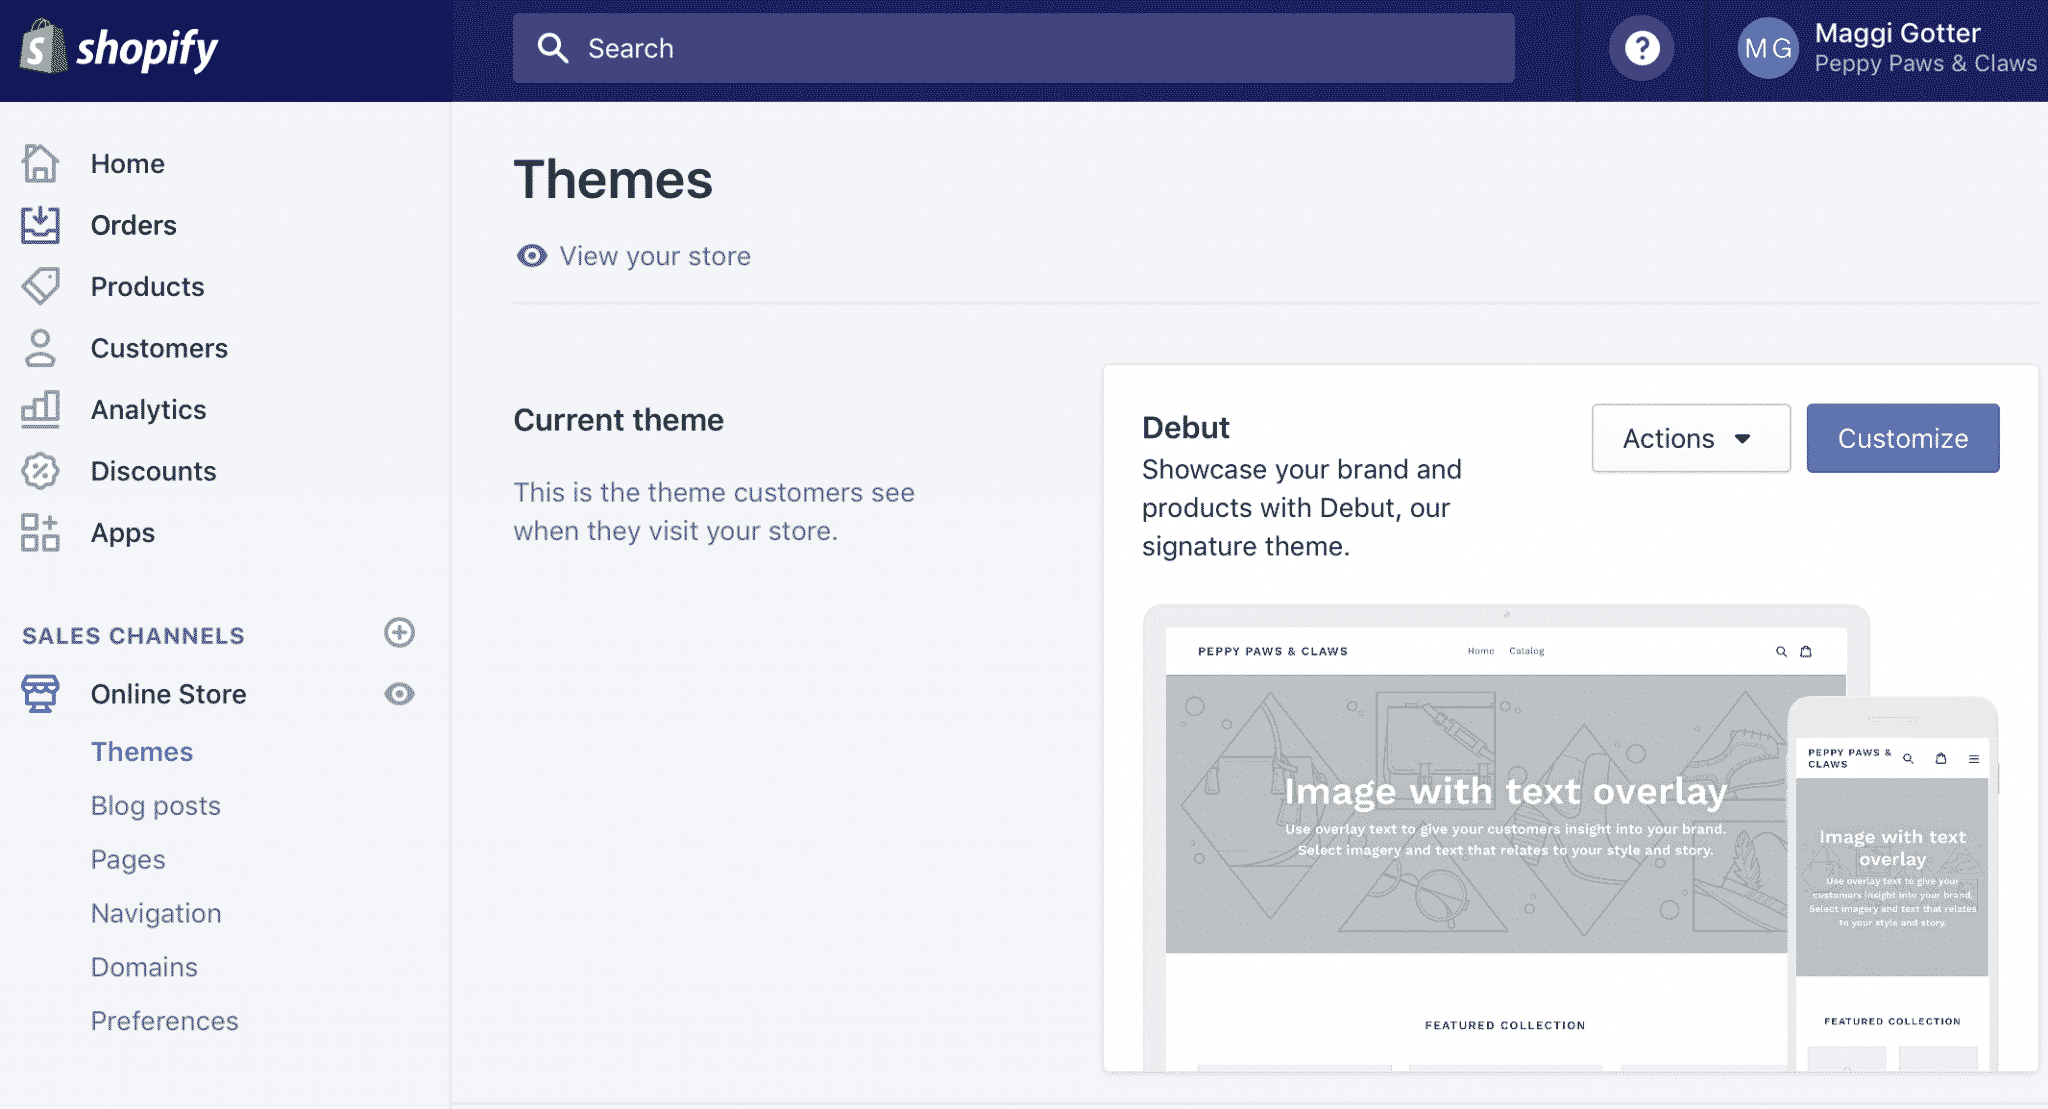
One of the first things you’ll want to do when you create your Shopify store is to choose the perfect theme. This will determine your site’s look, layout and general aesthetics. It can affect how customers move through your site, and it should align directly with your branding.
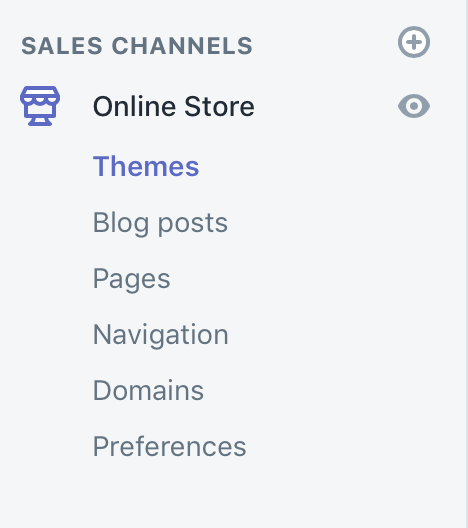
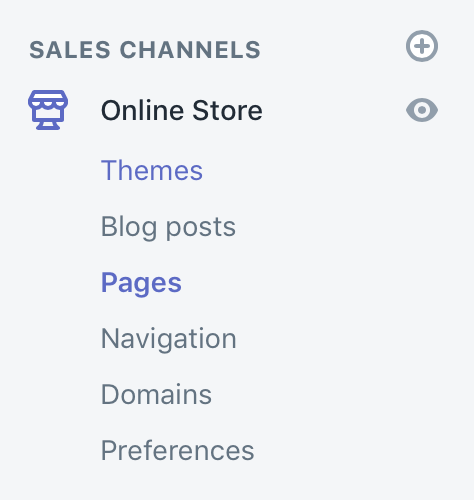
You can find your theme by clicking “Online Store” and then the “Themes” subcategory.
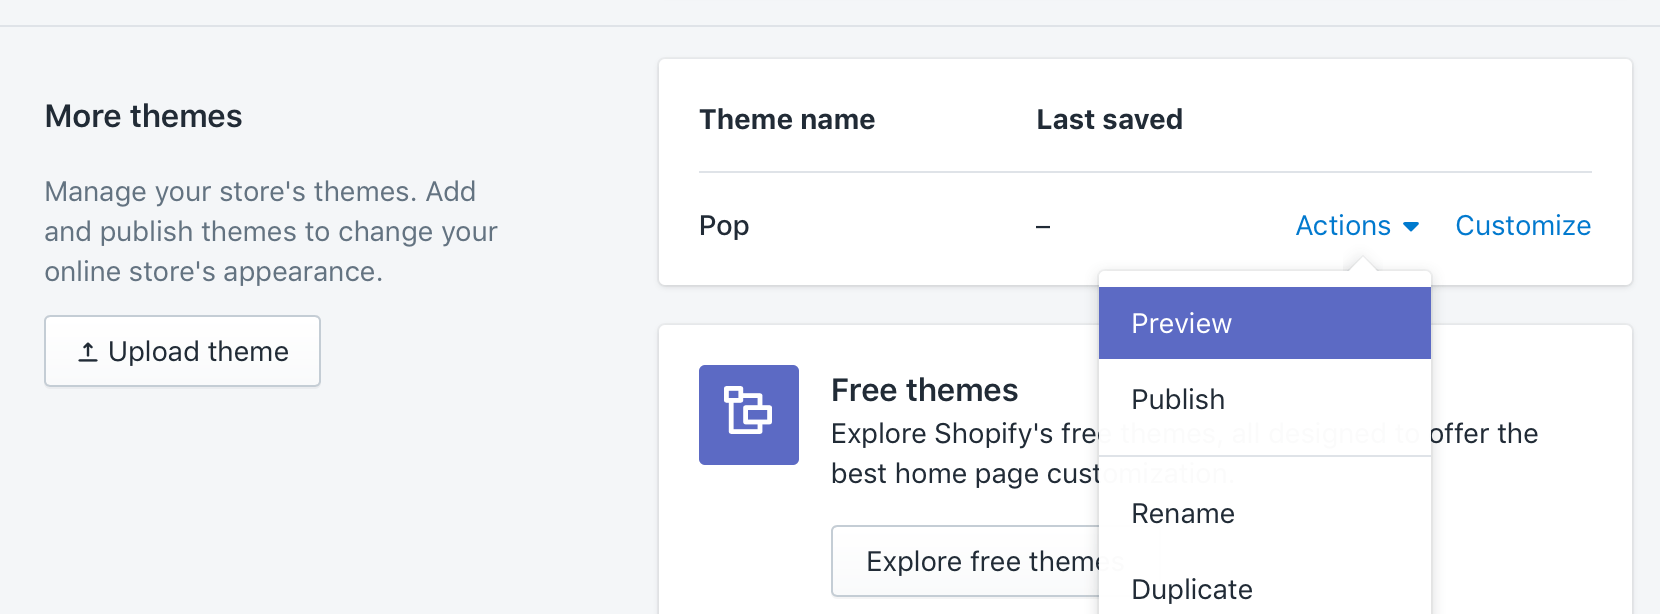
All Shopify stores come with a default theme, which—like many other Shopify themes—can be customized to fit what you’re looking for. In order to set your store apart, though, go ahead and take a look at other themes that are available.
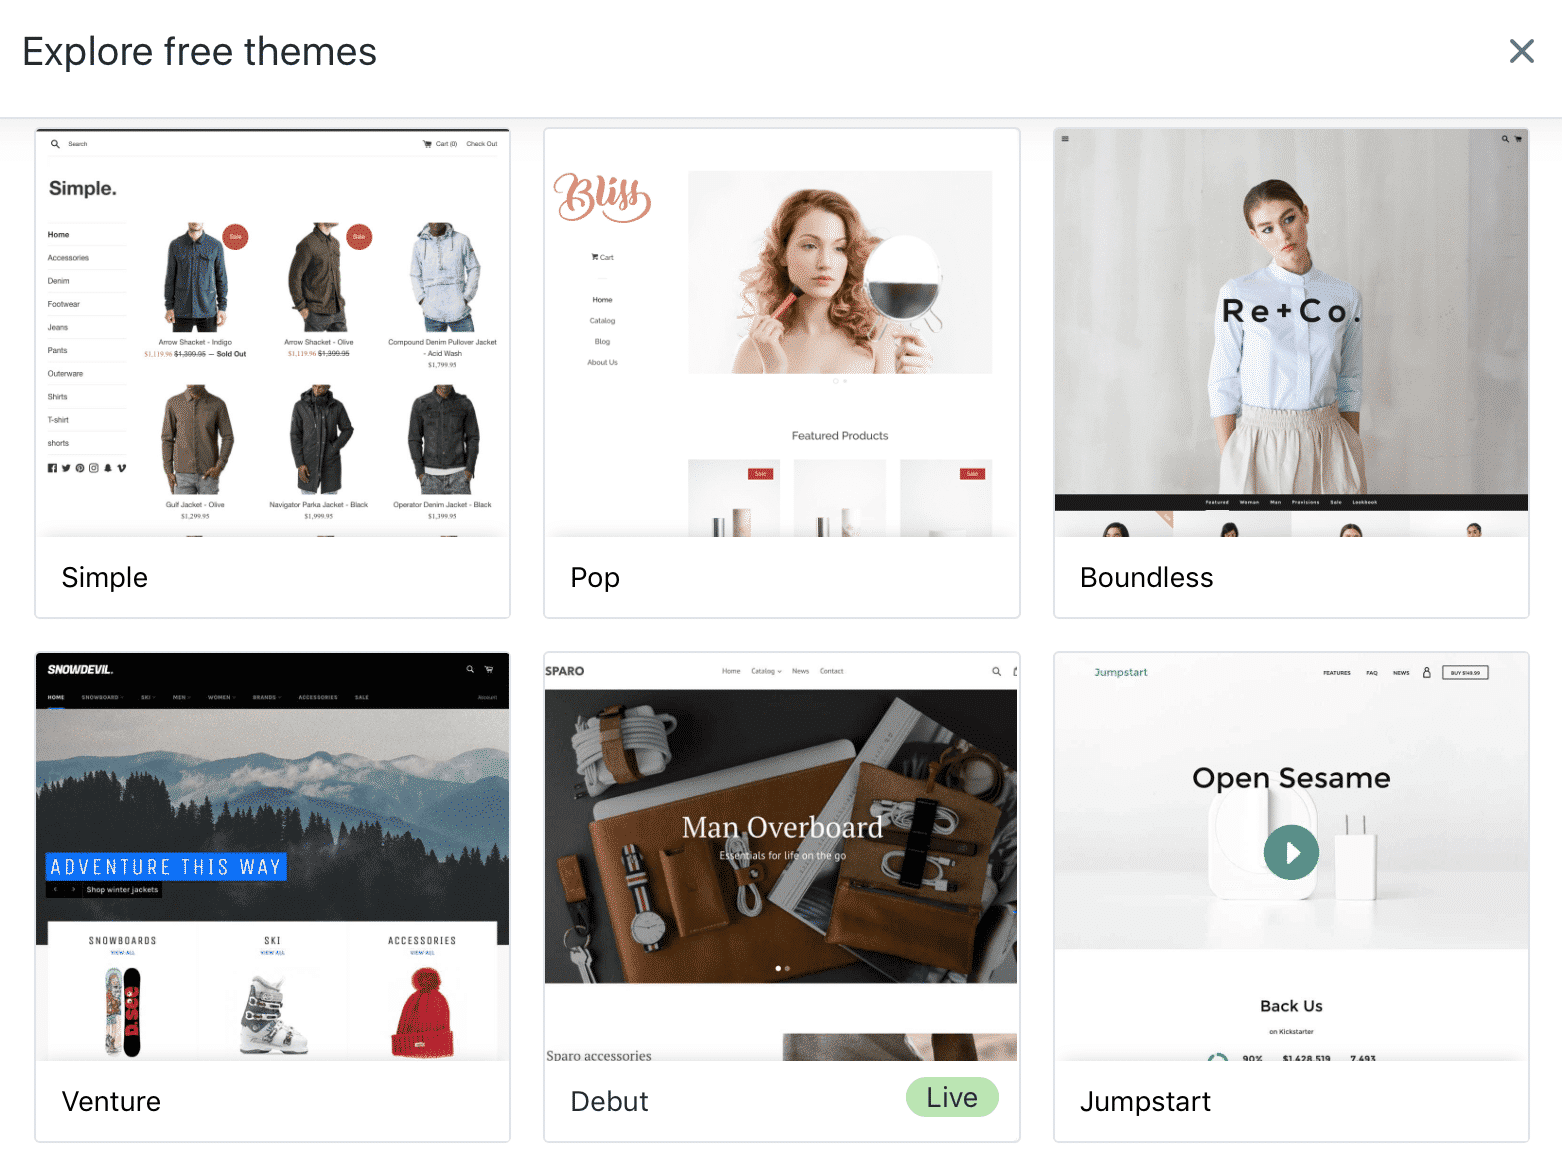
There are both free and paid themes available directly through Shopify, which you can purchase and install with one-click each.
Many themes even come with pseudo-customization built in, where you’ll have the option of two or more pre-made design schemes (with font, color scheme, and more) available for you to choose from.
3. Start Building Your Store
Remember, your store isn’t published yet. It’s all a big work in progress and you have to build it one step at a time. This includes creating different pages, like an About Page, a Contact Us Page, and setting up site navigation.
You can add new Pages under the “Online Store” option and then clicking to “Pages.”
The interface is intuitive, asking you to title the page and then entering in the necessary text that will show up on the main page itself.
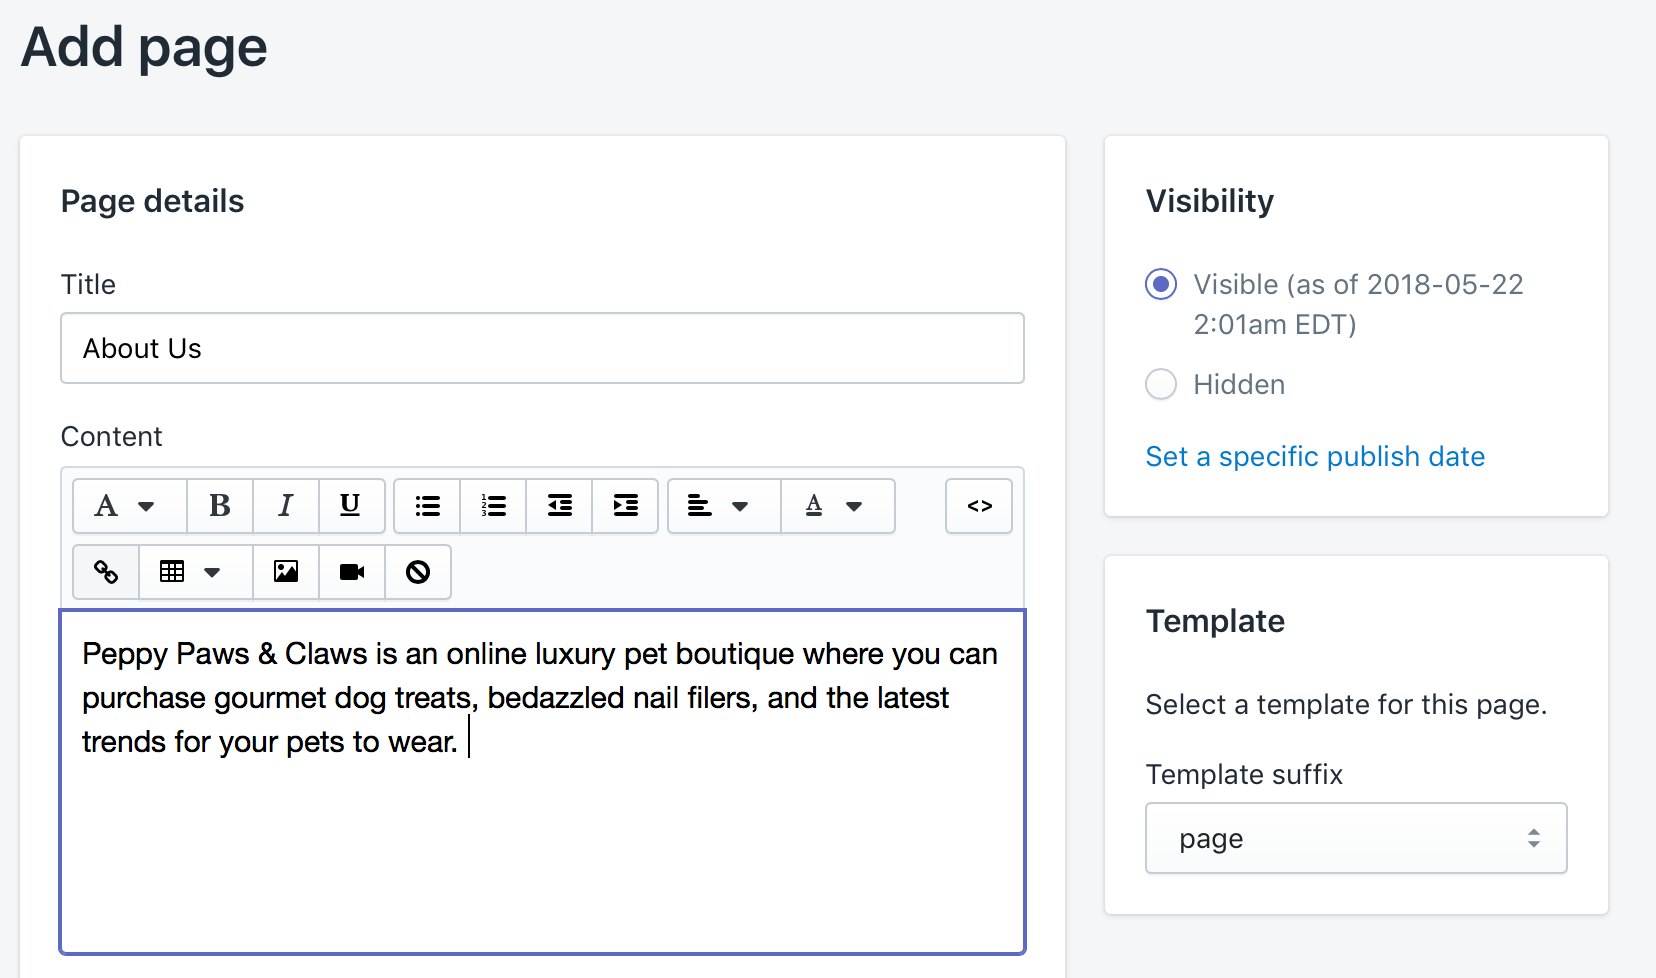
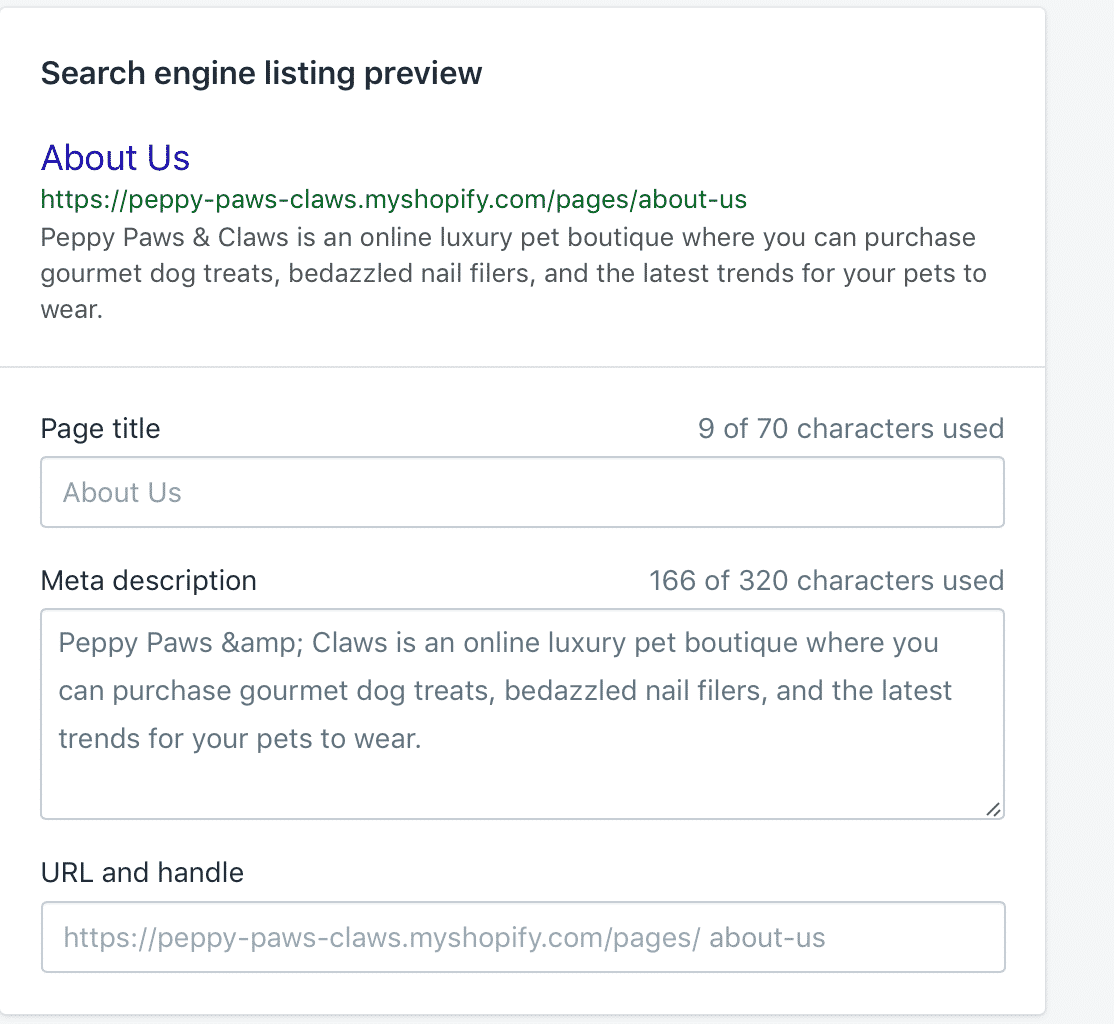
Underneath the text box, you’ll see the option to optimize for SEO. Use this to your advantage to help your online store rank well in the SERPs.
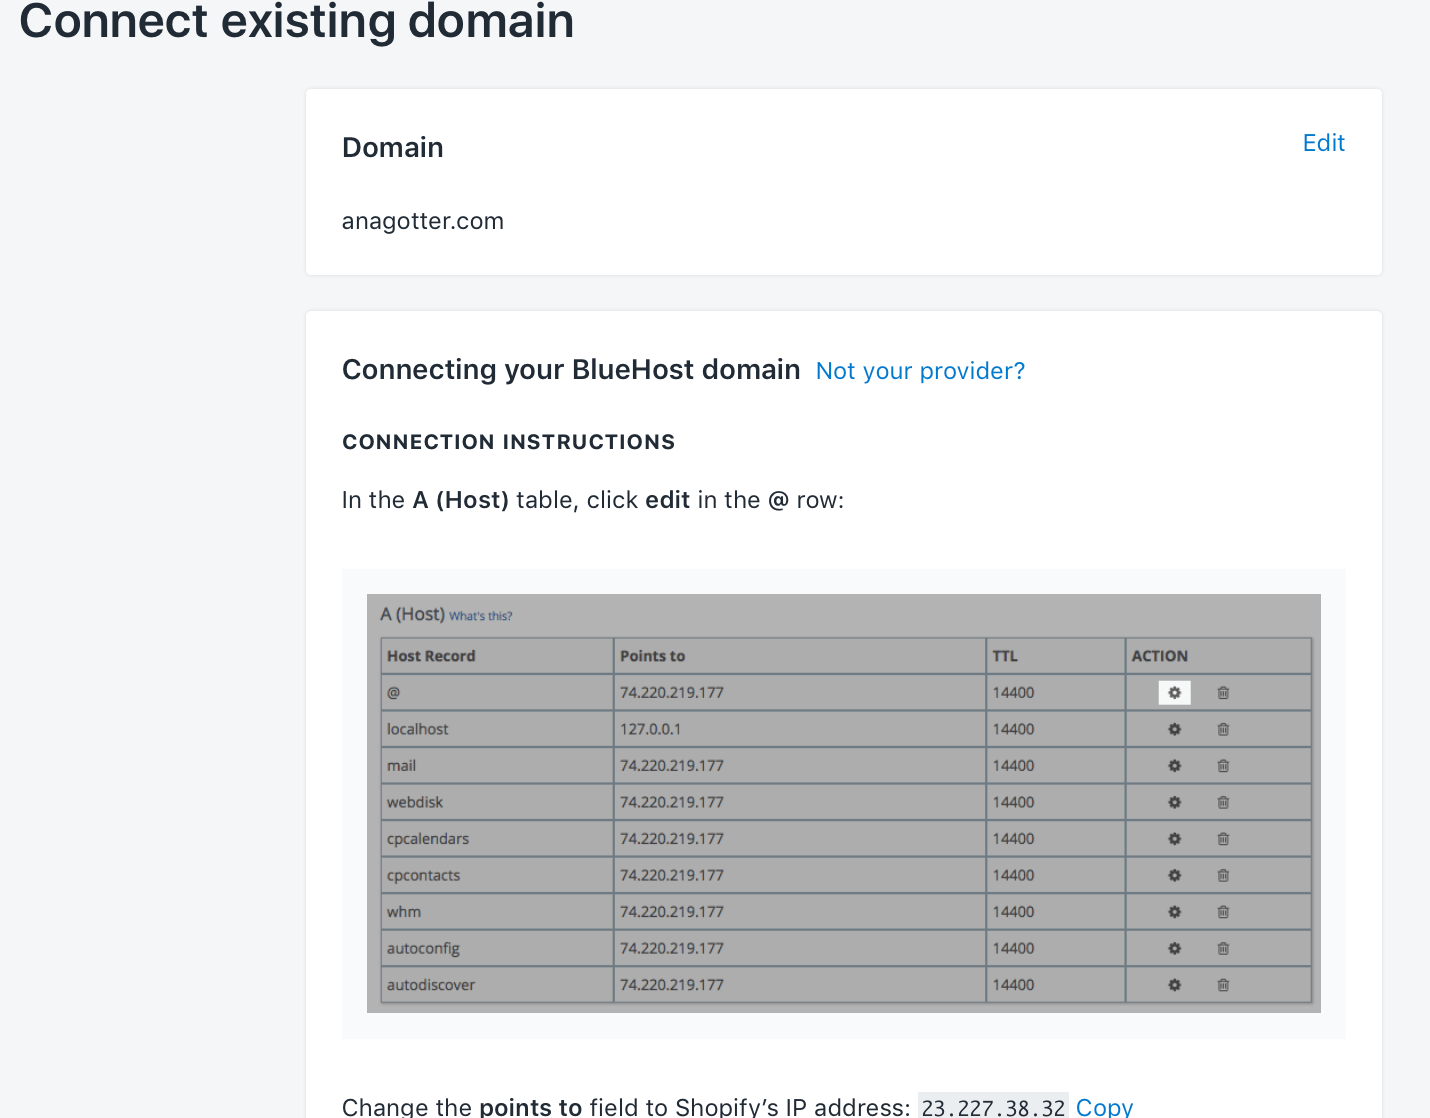
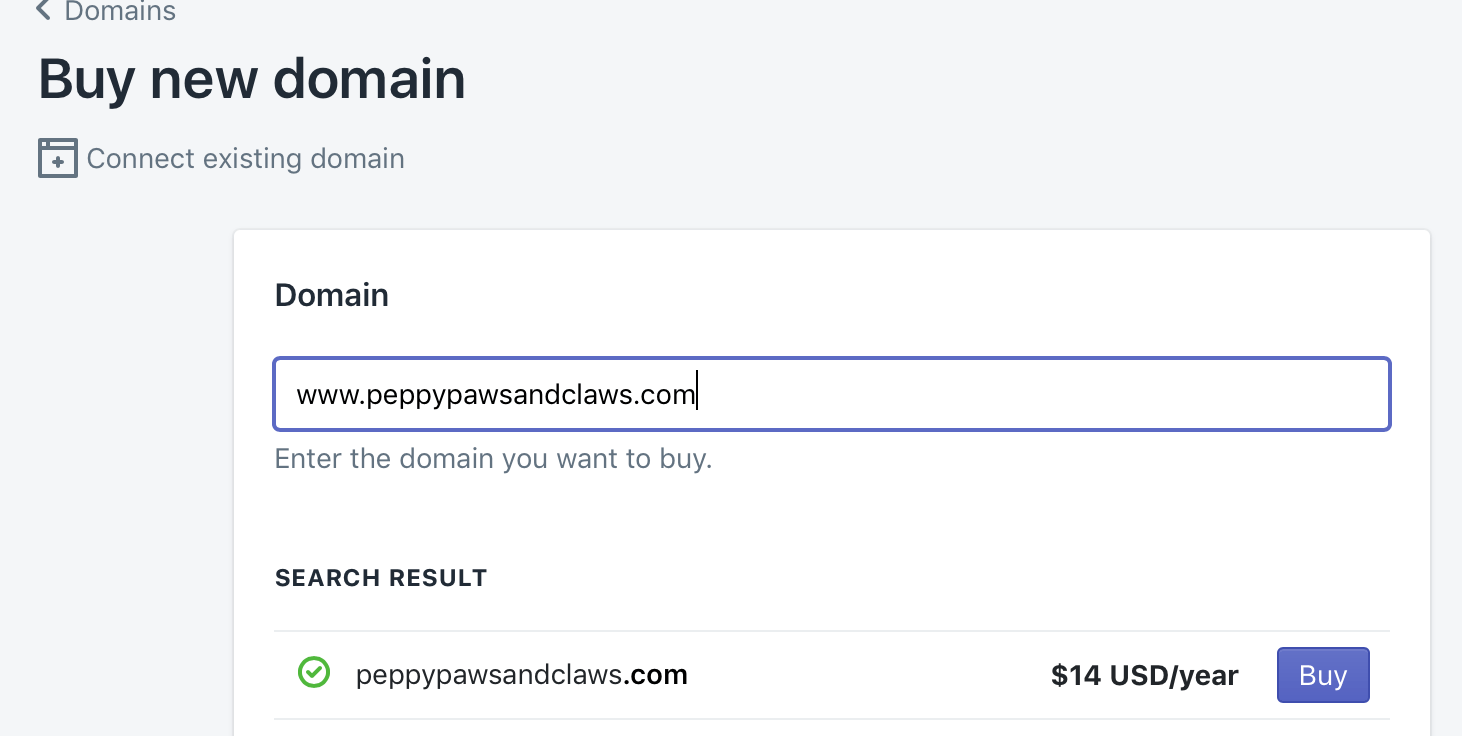
At this stage, you’ll also want to get your domain name established. If you already have a domain name purchased, you can easily connect it. Shopify will walk you through the process of how to do this depending on your current web host.
If you need to buy a new domain, Shopify has you covered there. Enter in the domain you want to purchase, and they’ll show you the cost and allow you to purchase it right there.
4. Add Products to Shopify
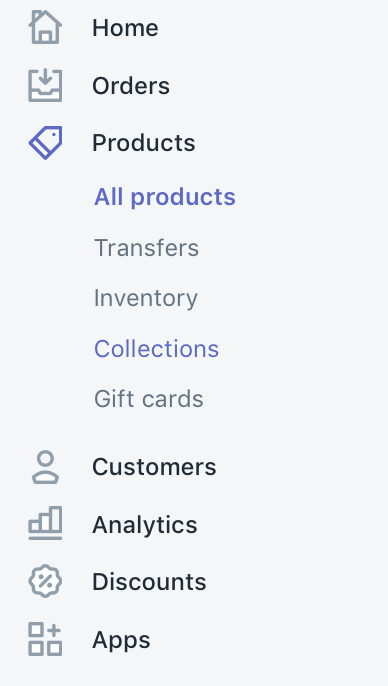
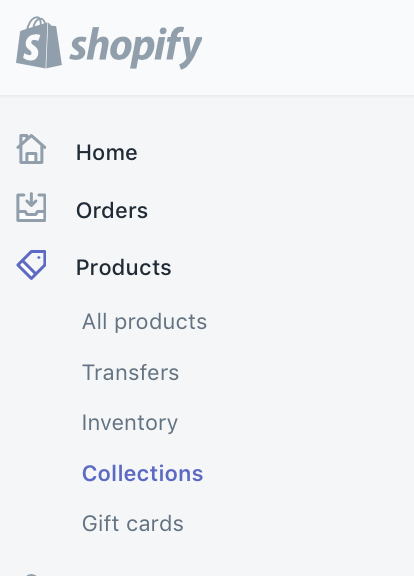
No shop will do well—or get any repeat visitors—if you launch without having products or services clearly listed on your site. To add products, find the “Products” tab under the main drop down menu.
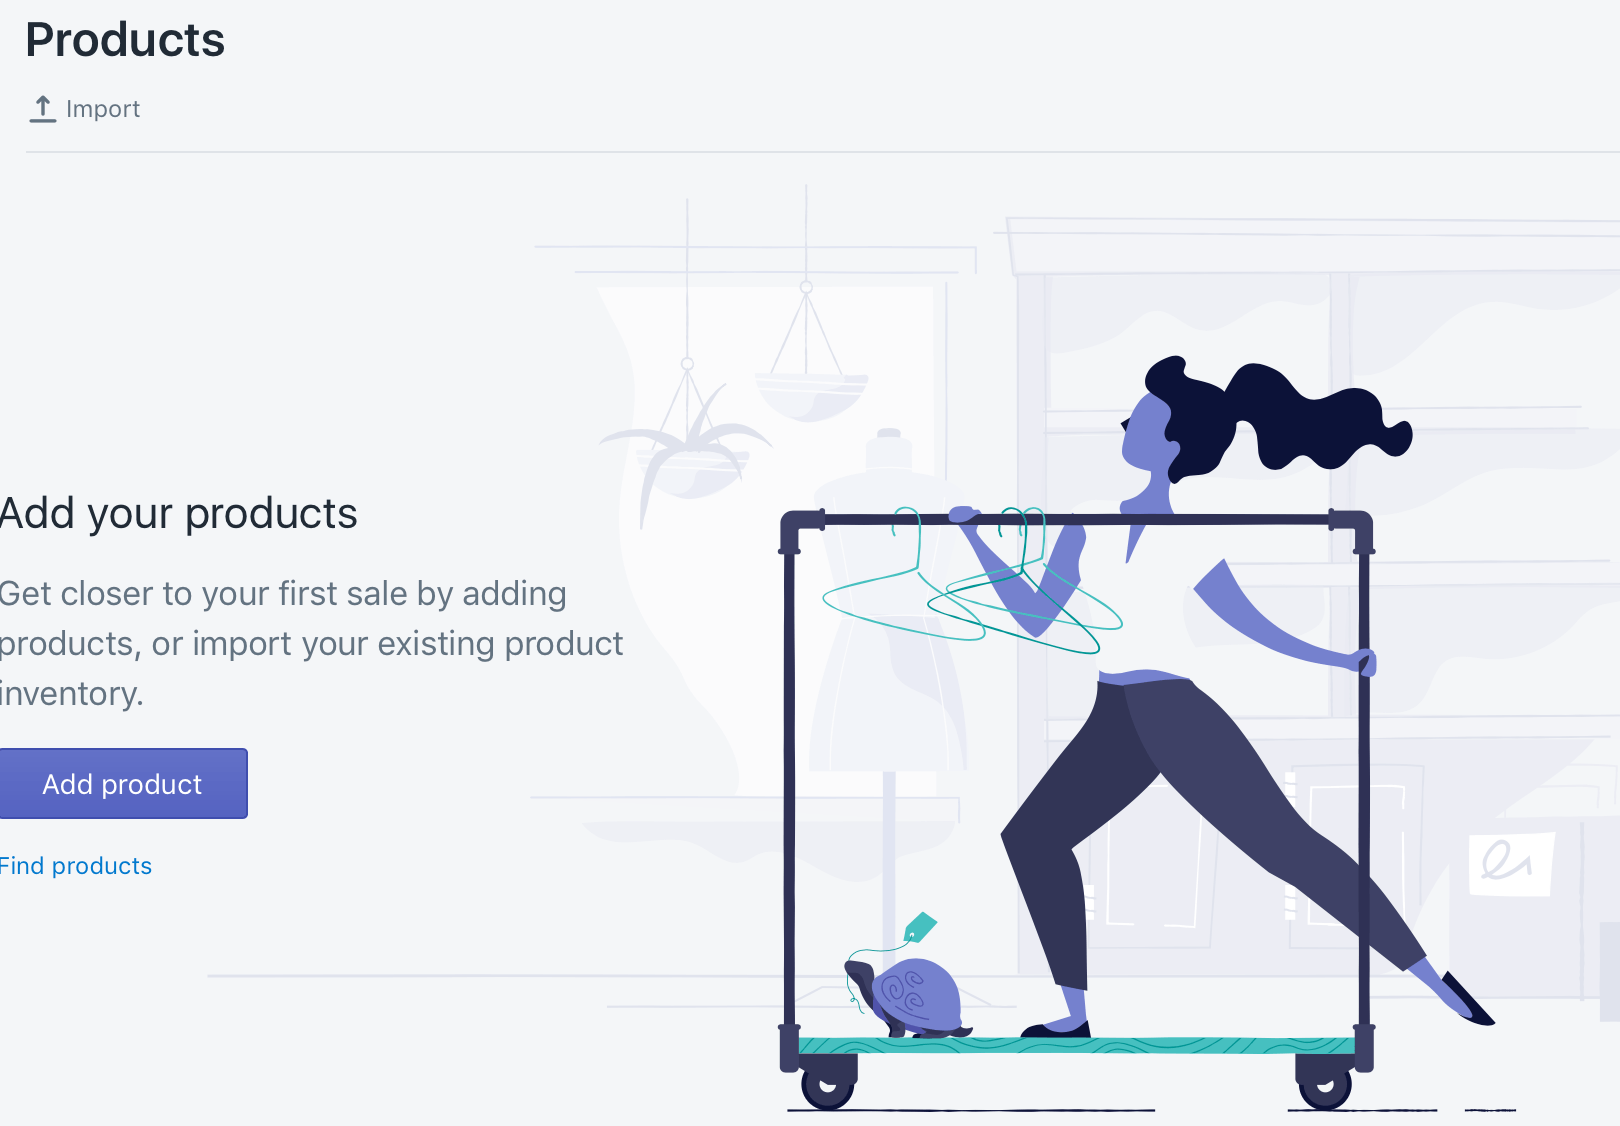
There’s two different options for adding new products to your store. You can import a list via a CSV file, or add them manually.
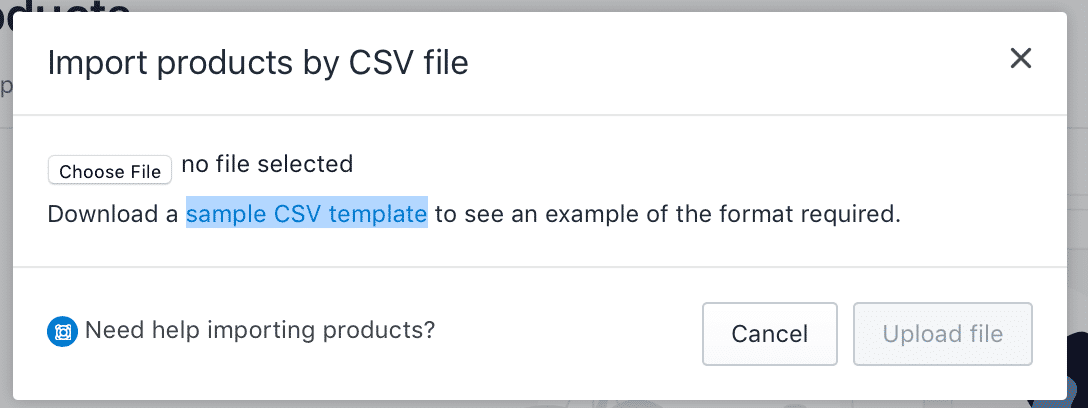
To import a list of products, you can download a CSV file that shows you how to organize product information, complete it, and upload it. This will import a large number of products quickly, and is ideal for businesses with large numbers of new products.
Only need to upload a few products, or prefer to do it all manually? The process is simple, and gives you ultimate control.
You’ll add a product title and description on an interface that looks similar to the Pages one. You can add images in text, but note that in order for them to show up as product images, you need to add them in the next box.
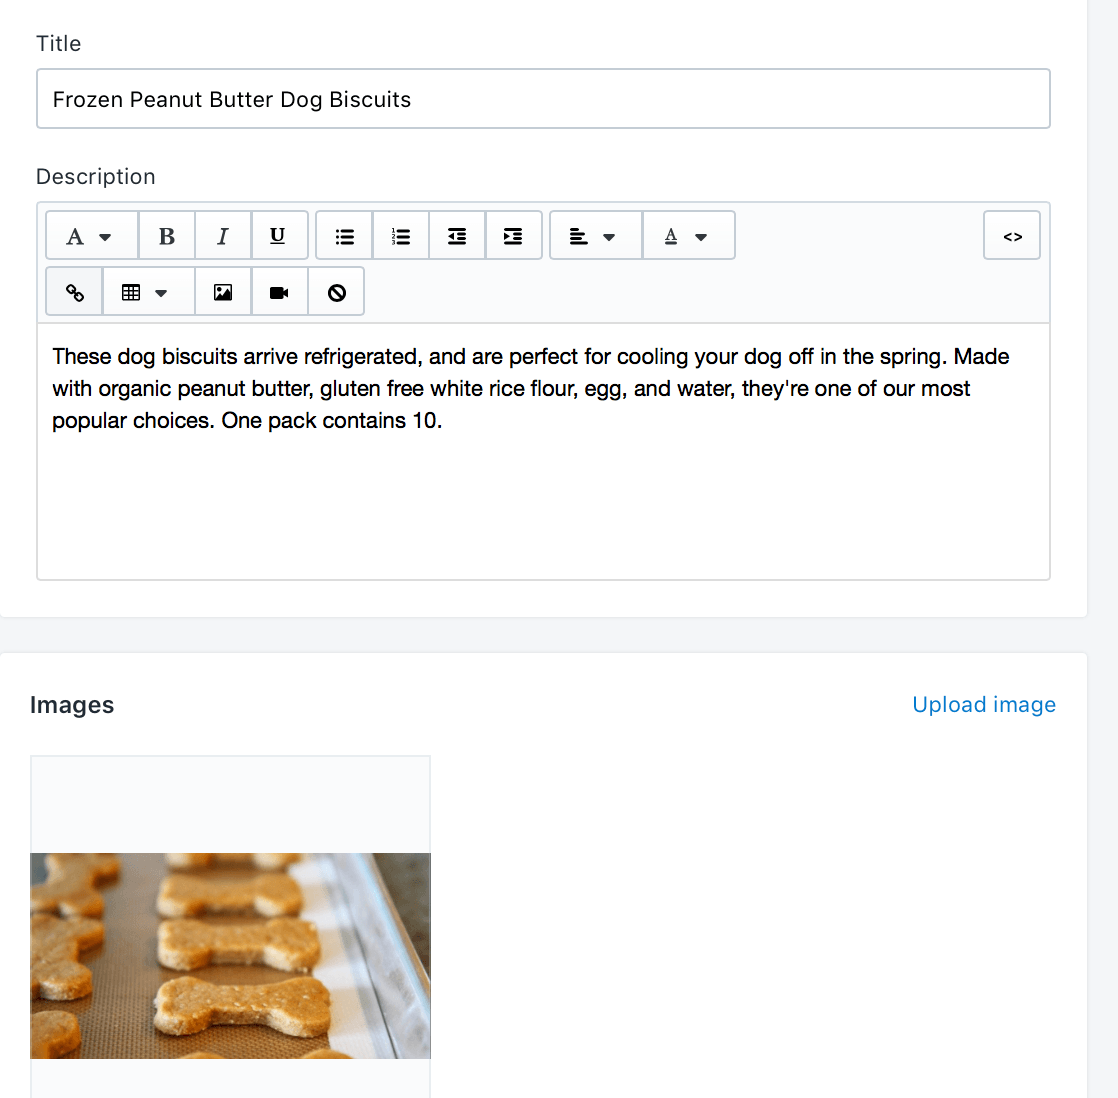
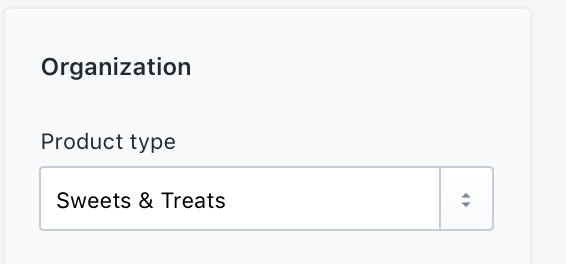
As you do this, you’ll notice on the right hand side that there’s an option to choose the product’s type (or category) and that you can also add it to collections. We’ll look at creating collections next, but for now, create distinct product types to make organization easier up front.
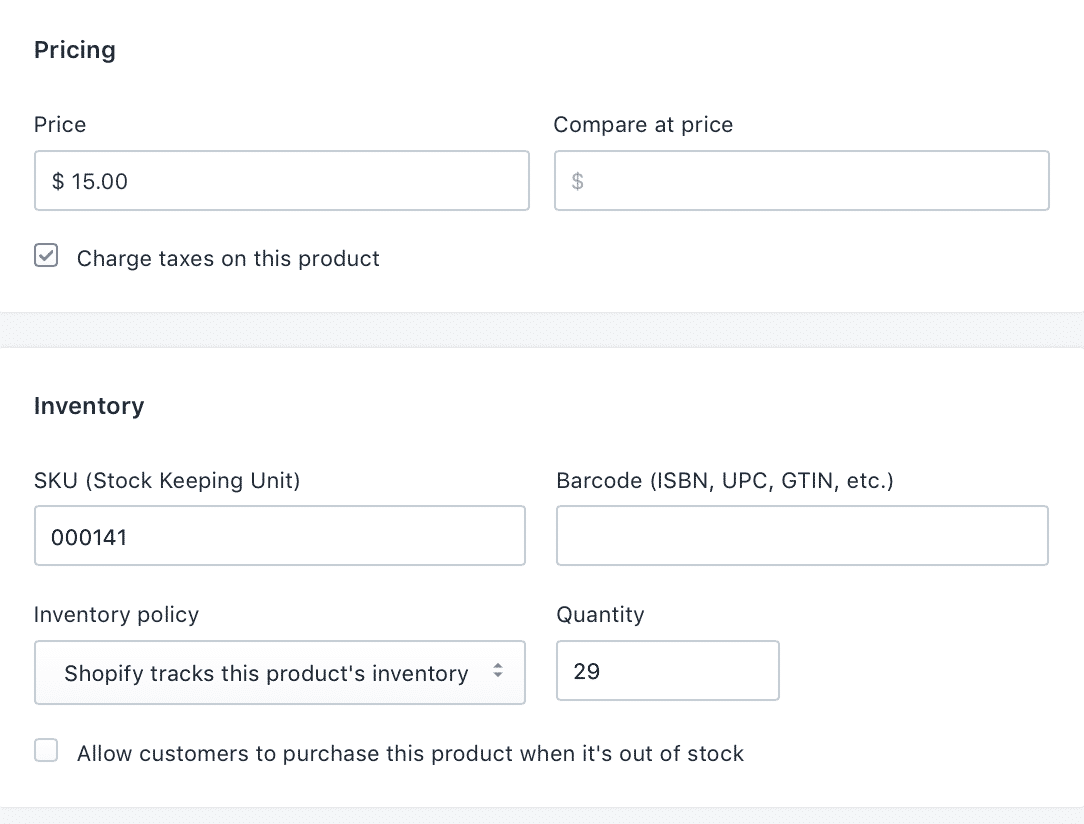
Next, you’ll set up pricing and inventory. Enter the current price, and you can also enter a “compare at” price in order to instill FOMO and remind users they’re getting the best price available.
Below this, add in internal inventory information like SKU and inventory number if you’re choosing to have Shopify track your inventory for you.
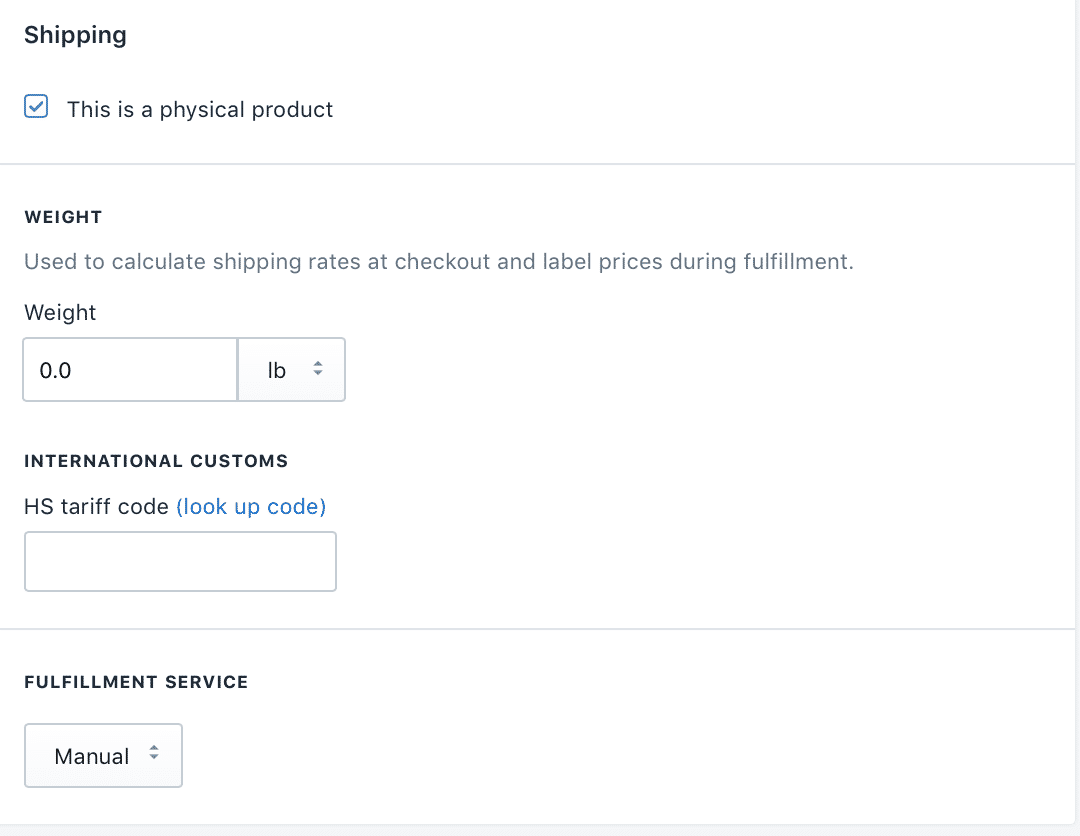
If you’re selling physical goods, make sure you also fill out the shipping information, including weight and any HS tariff code if you’re shipping internationally. There are some Shopify add-ons that automatically provide price per package weight, so don’t miss the potential savings by not adding this here.
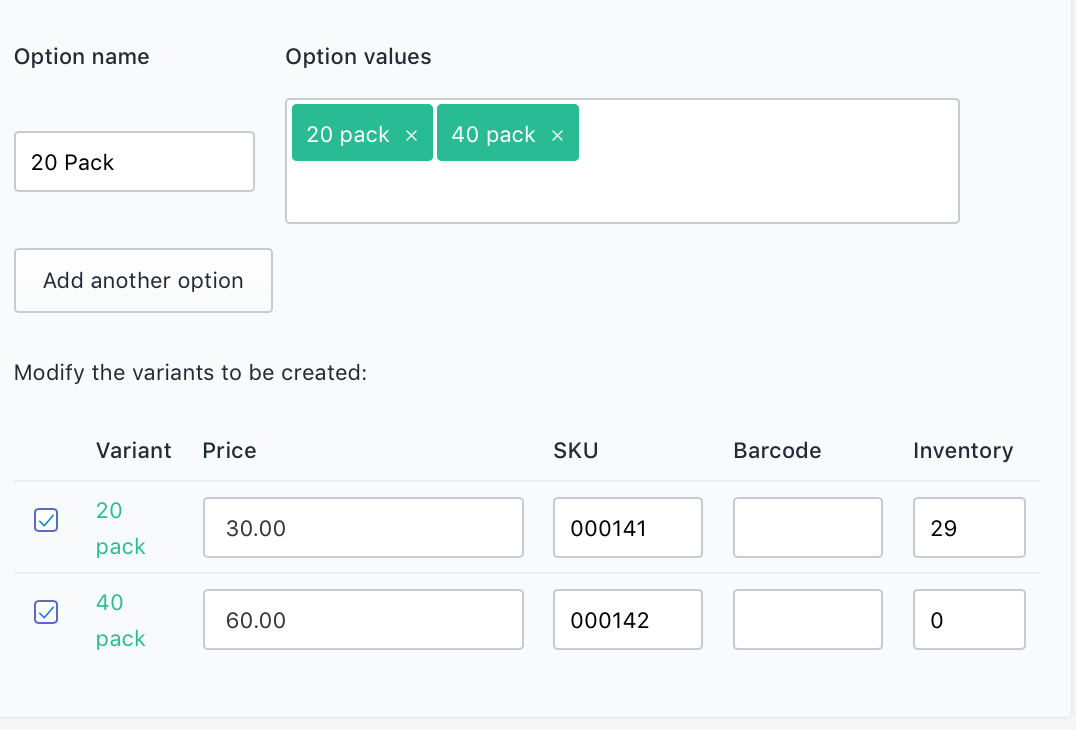
Towards the bottom, you’ll see the ability to add different product options. Want to offer the shirt in blue, green and red? Do you have 10, 20, and 40 packs of gourmet frozen dog biscuits?
Make life simple and add them as variants, adjusting SKU, inventory for each and price.
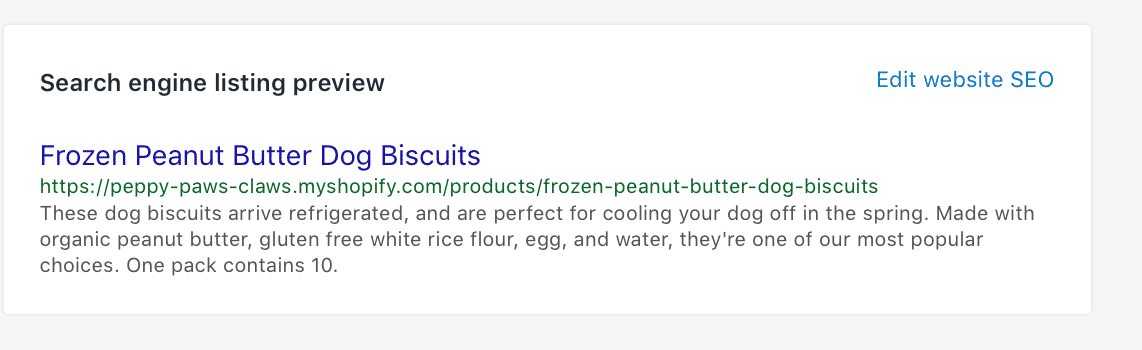
Finally, go ahead and make sure that your SEO listing is ready to go, with target keywords for each product in place.
You can review your products at any time on the dashboard, which gives you a quick look at inventory.
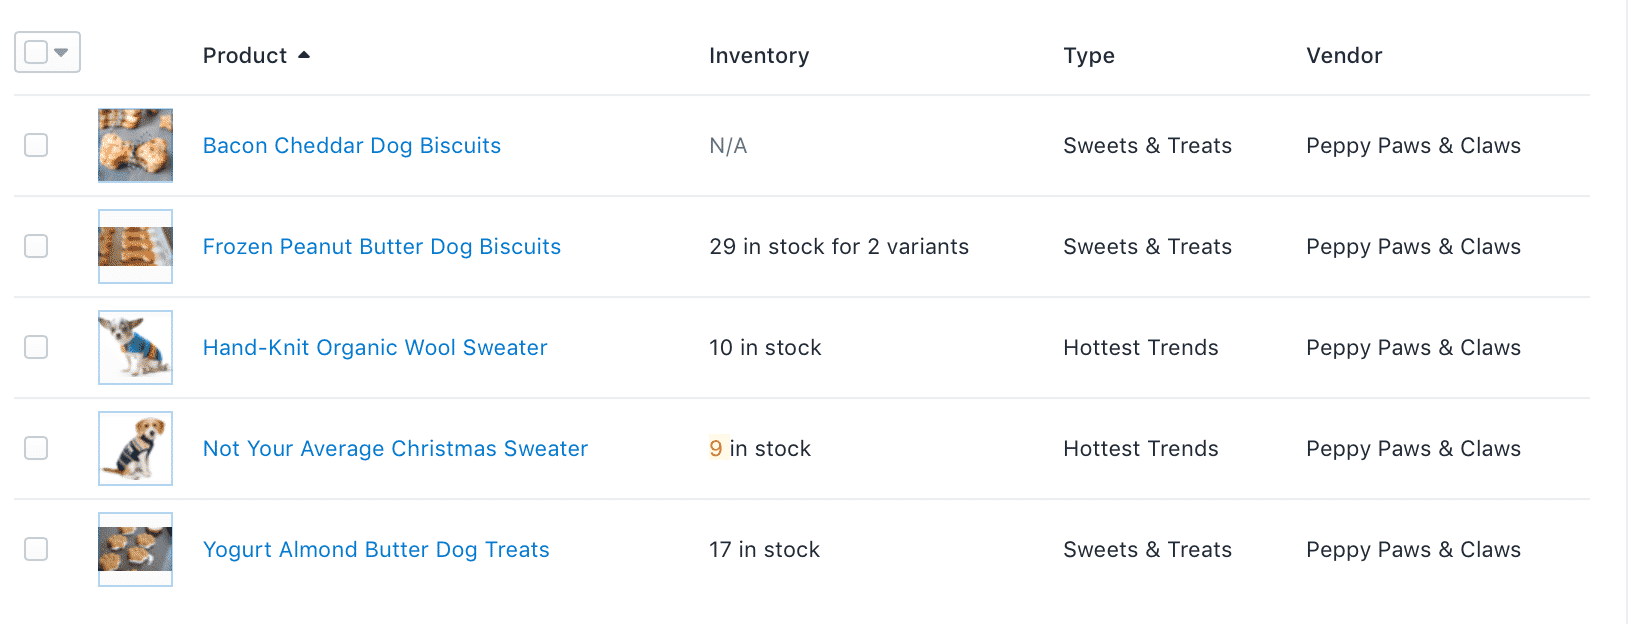
If you fall below ten of any given product, Shopify will flag this with a bright red number.
5. Group Products into Collections
Organizing your products into collections is a fantastic way to sell more and make your site navigation a little easier. Collections make it easier for customers to find the products they’re looking for and can increase both initial purchases and add-on purchases.
For our example Shopify store, we might group collections into pet treats, pet clothes, pet care, and pet toys. We might also have a “featured summer products” in order to encourage impulse purchases.
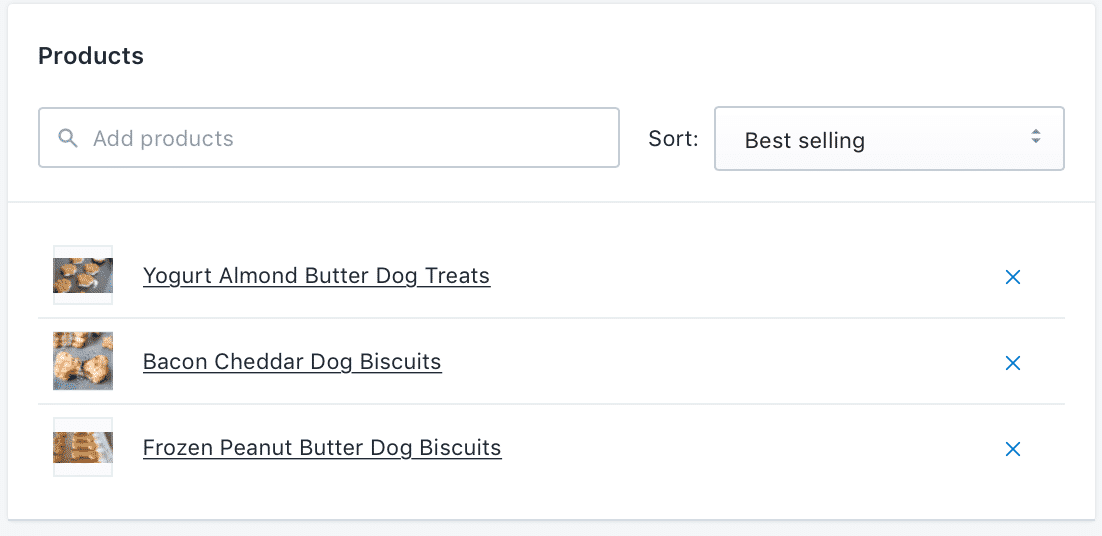
These collections will be displayed like a webpage, with all the product images showing up in a gallery. Users can click on an individual image and be taken to the product page.
 You can find the Collections under the Products tab.
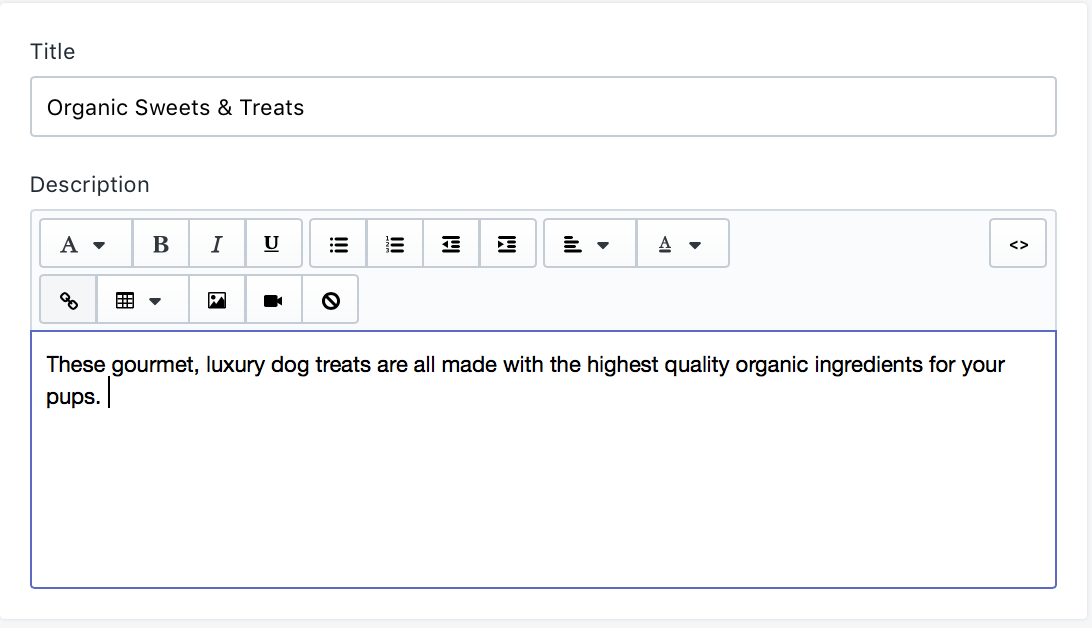
When setting up a new collection, you’ll add a title and a description. These will tell users what the collection is and how the products relate to each other. This is another chance to tell them why they should be purchasing from you.
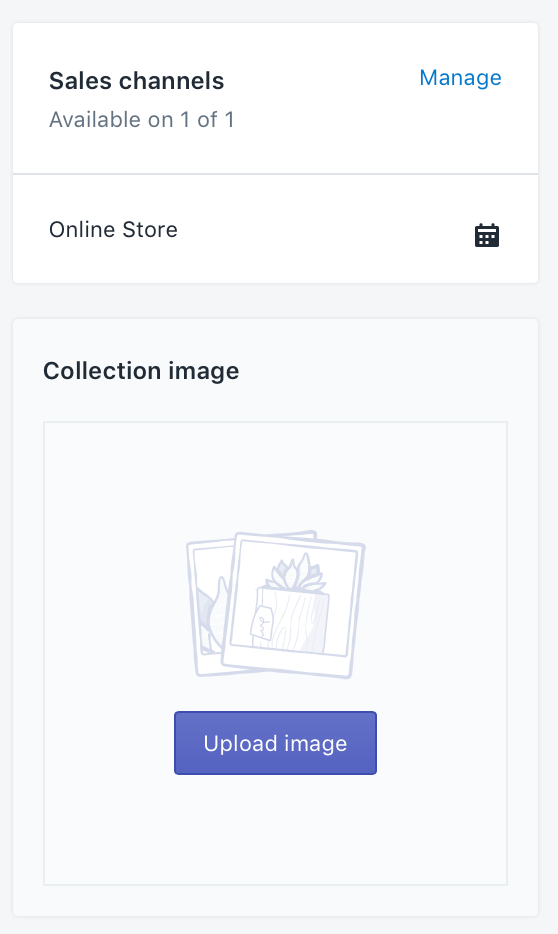
You can set your featured collection image. This can be a single featured image, a graphic that represents it well, or an image that shows several products.
You can choose to manually add specific products to your collections or have this be an automated process.
If you choose the latter, you can set specific parameters for your collection.
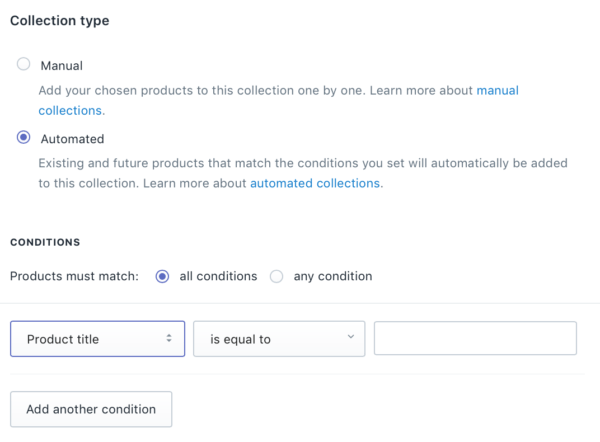
Products could need to match all conditions, any conditions (for things like having the word “biscuit” in the product title) or fall under a certain price range.
6. Enhance Your Store with Shopify Apps
Wish you could automate shipping costs based on product weight, incorporate more reviews on your site or link your Shopify store to your social media feeds? Shopify apps can do all this and more.
Your store can do pretty much anything you can imagine thanks to the Shopify app store. There are an endless number of apps—both free and paid—that can help you improve functionality, automation, and capabilities of your store. This can improve both your experience and your customer’s experience.
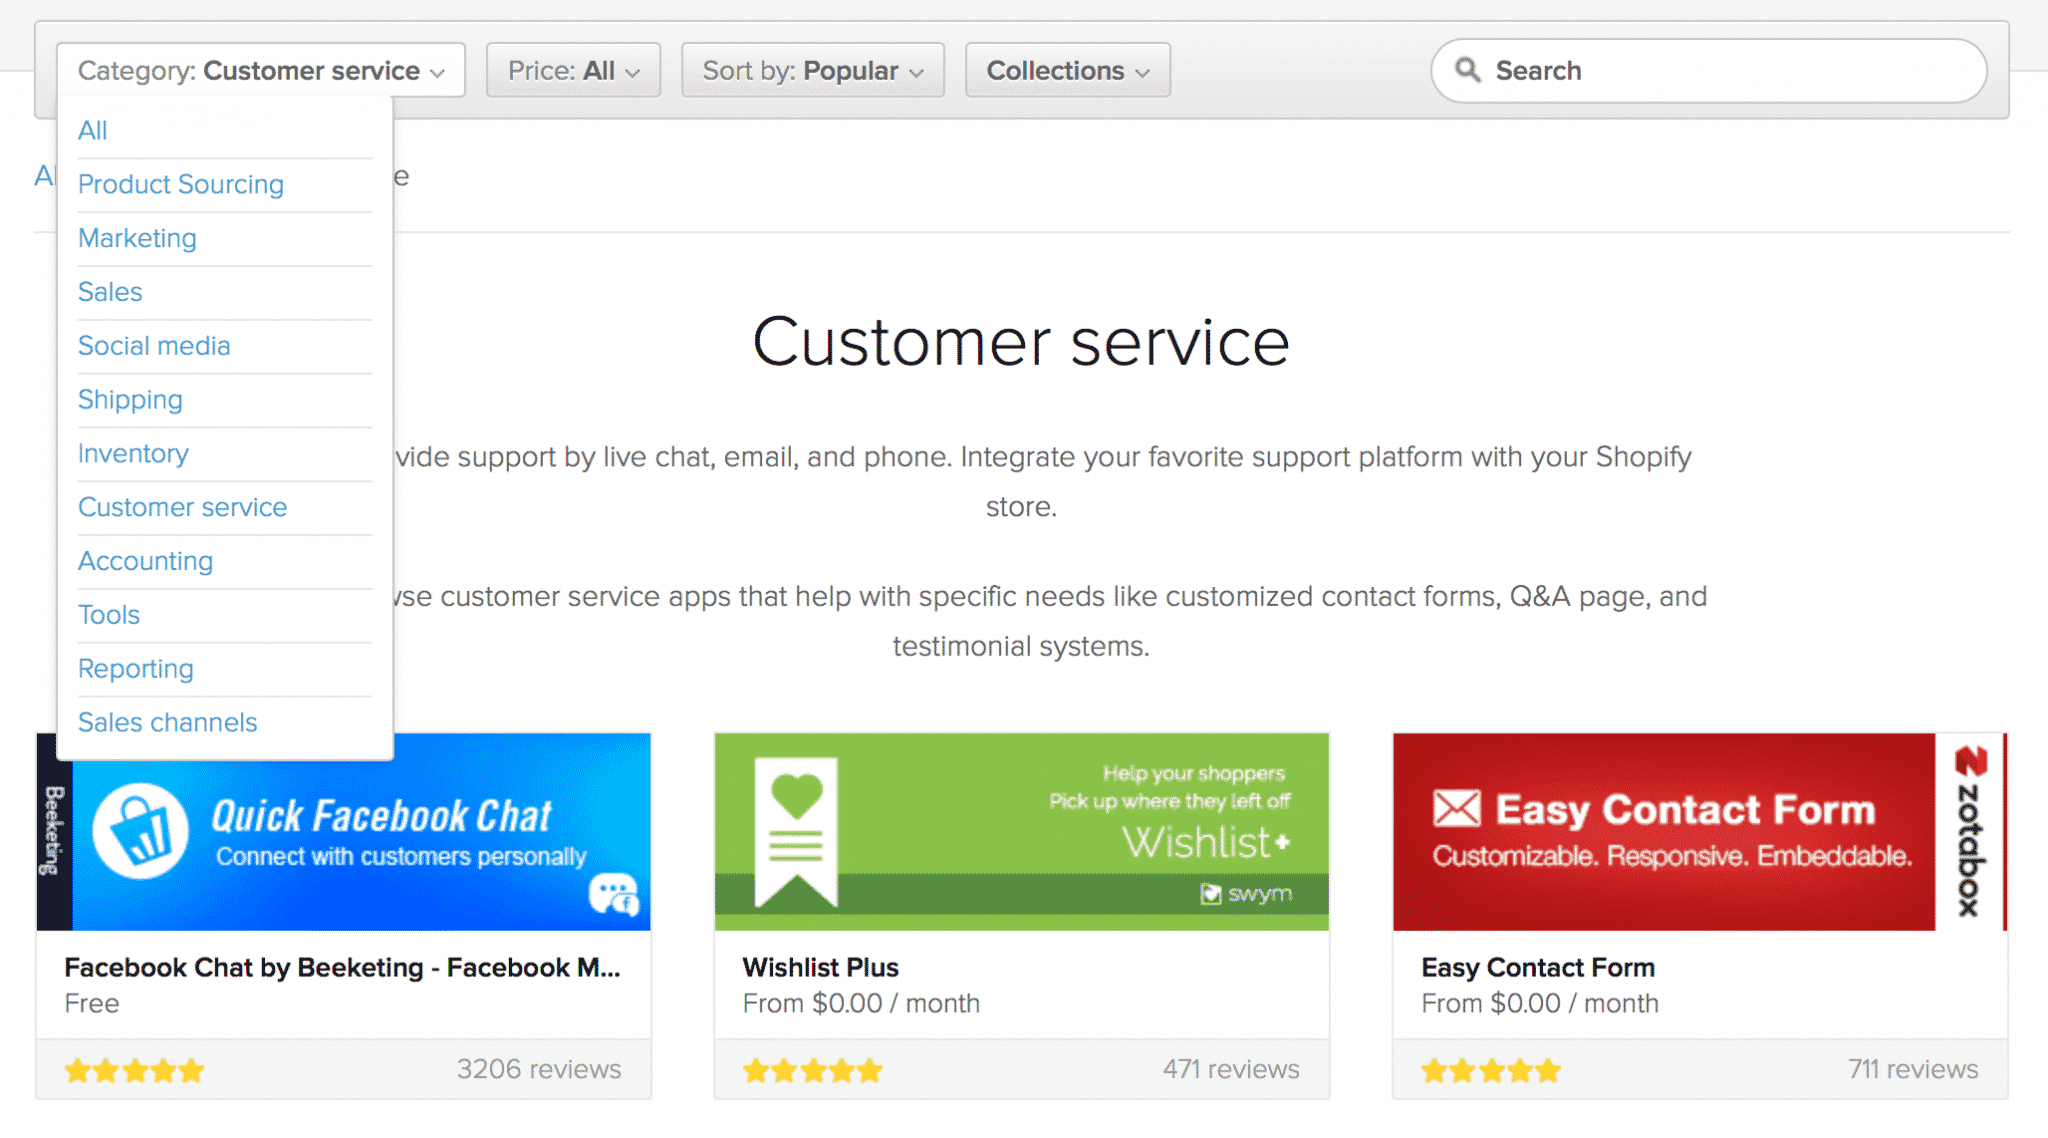
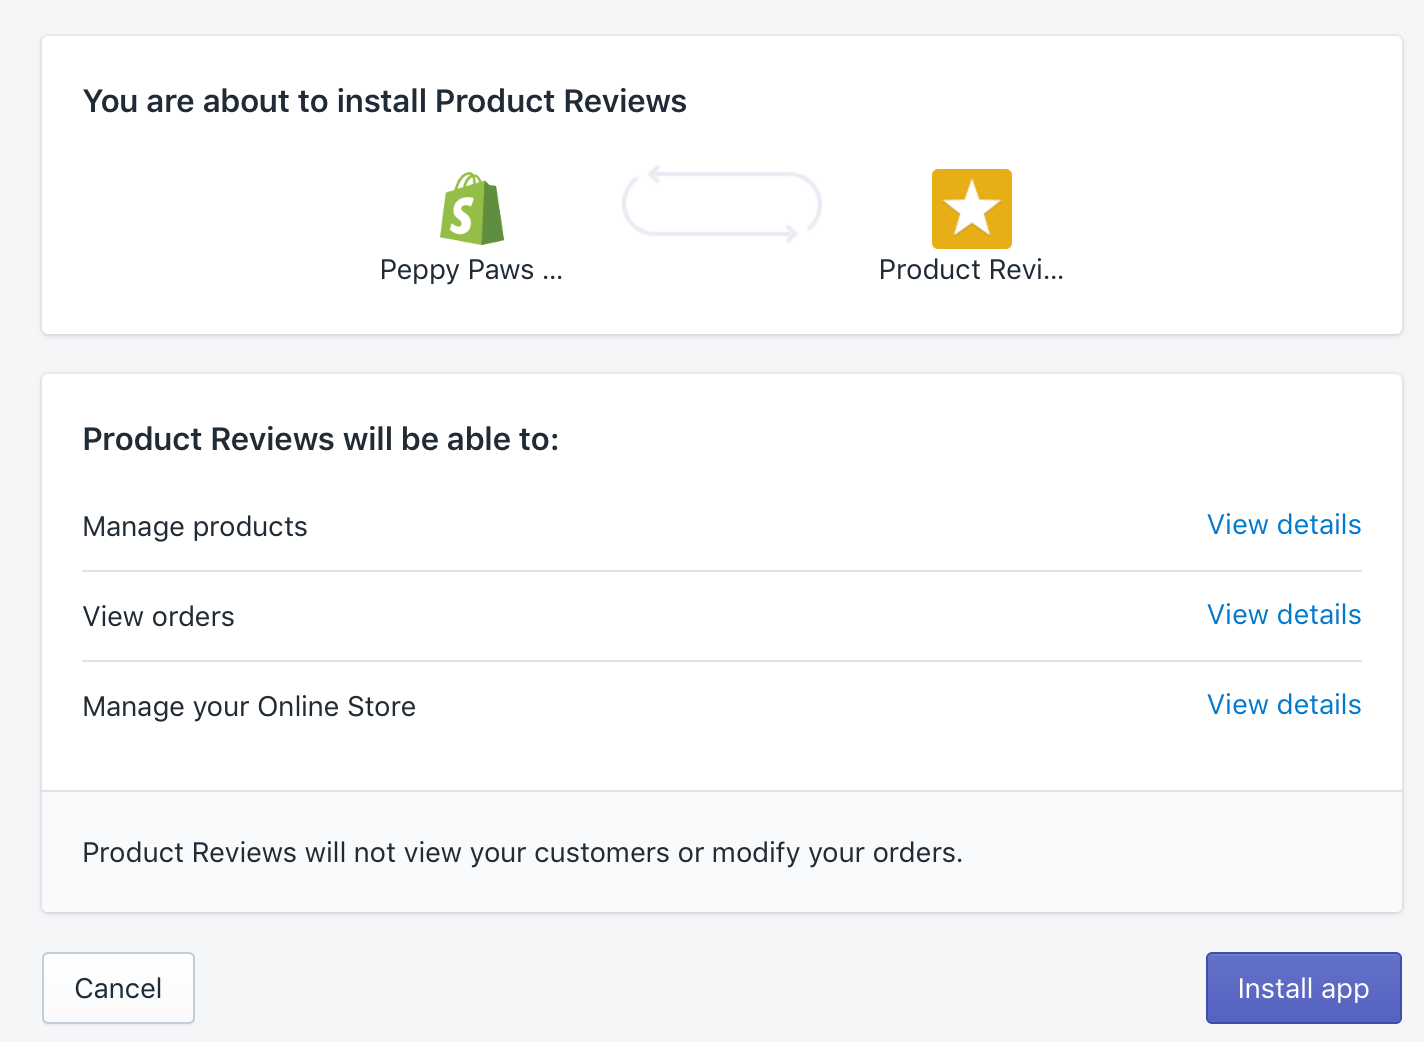
Installing apps is easy. Many require only single-click installation. If they don’t, they give you step-by-step instructions. Then you can start implementing them on your site.
Wondering how to get started with Shopify apps? You can get an overview of different options here. If you don’t see what you’re looking for though, check out the app store because there are way too many categories to fit into a single blog post.
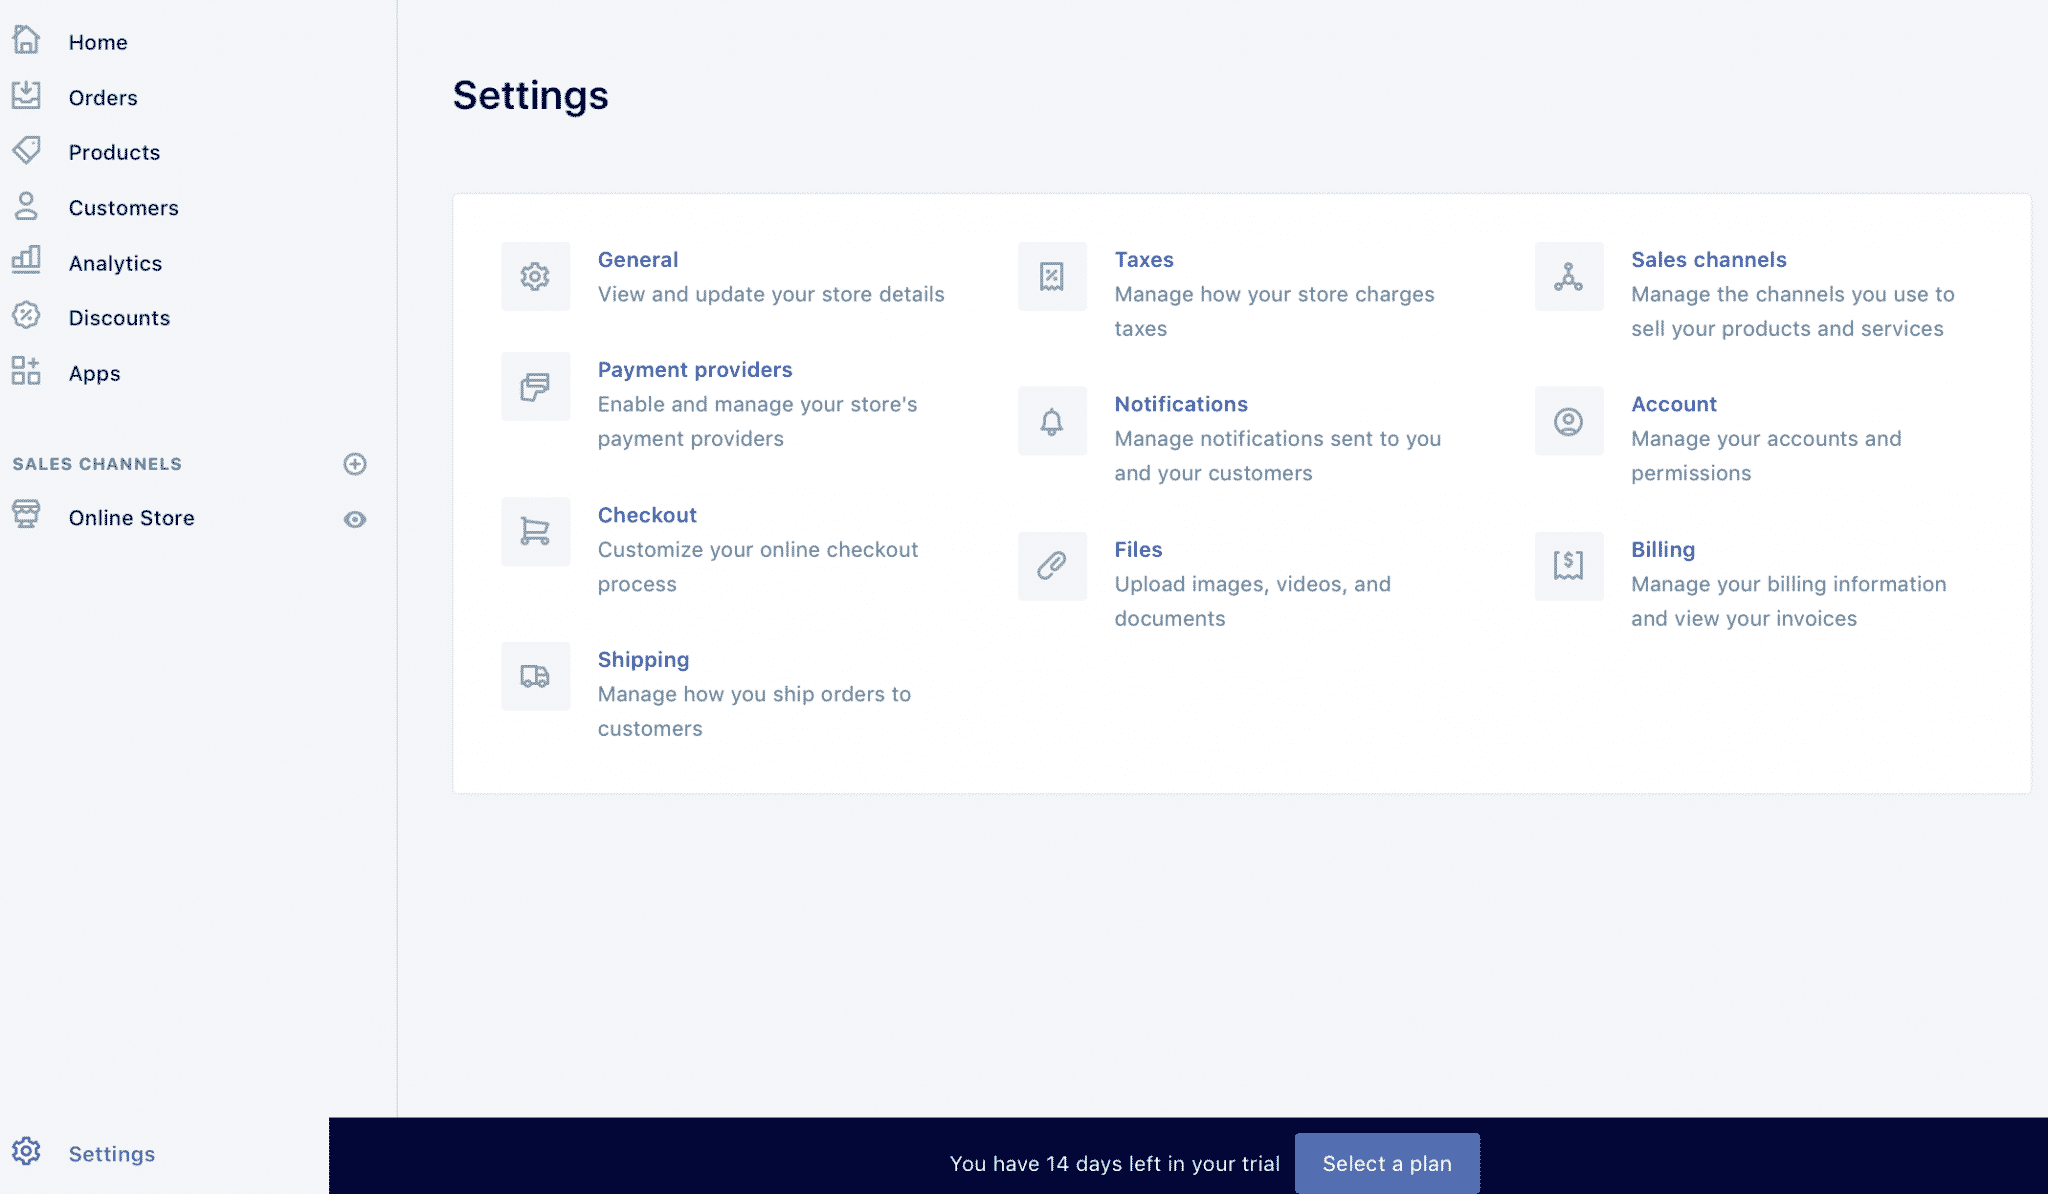
7. Set Up Your Payment Gateways
One of the last big things you’ll need to do is to choose payment providers. You can’t sell, after all, if customers are literally incapable of purchasing no matter how much they want to.
To do this, head to your Settings and then click “Payment Providers.” Note that under the Settings, you can also customize your online checkout process if needed, adjust shipping information, and add taxes.
Different payment options include:
- Shopify payments. This is powered by Stripe, and allows you to accept credit cards on Shopify’s behalf. There are credit card fees, but these are only a fraction of a percentage point higher than if you were accepting credit card fees yourself.
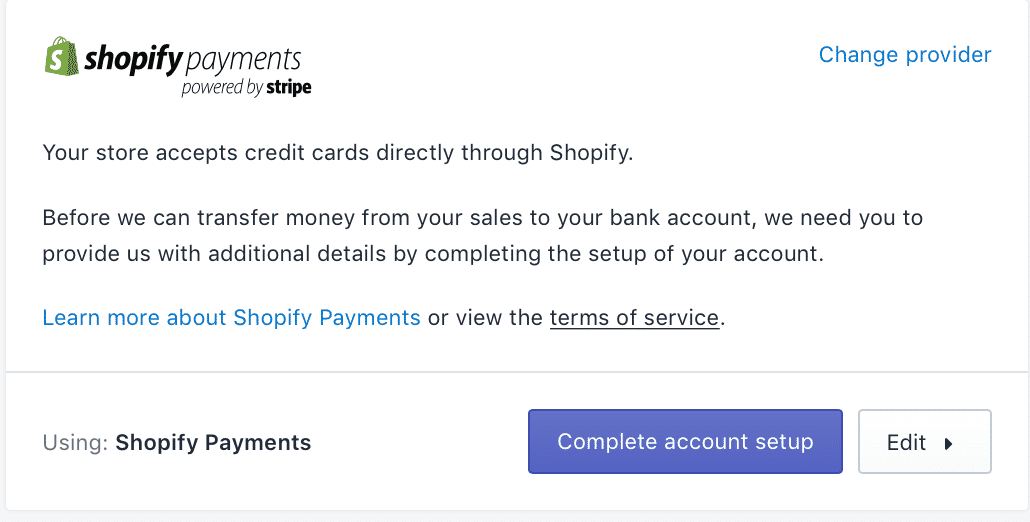 This option is automatically enabled, though you need to complete your account setup. You’ll need to fill out information about your business license, tax identification number, address, and social of the primary owner.
 - Paypal Express Checkout, which allows you to process payments through Paypal. This is a popular option for many customers, as they don’t have to enter in their credit card information to a store they aren’t familiar with. For these purchases, you’ll be charged a credit card processing fee.
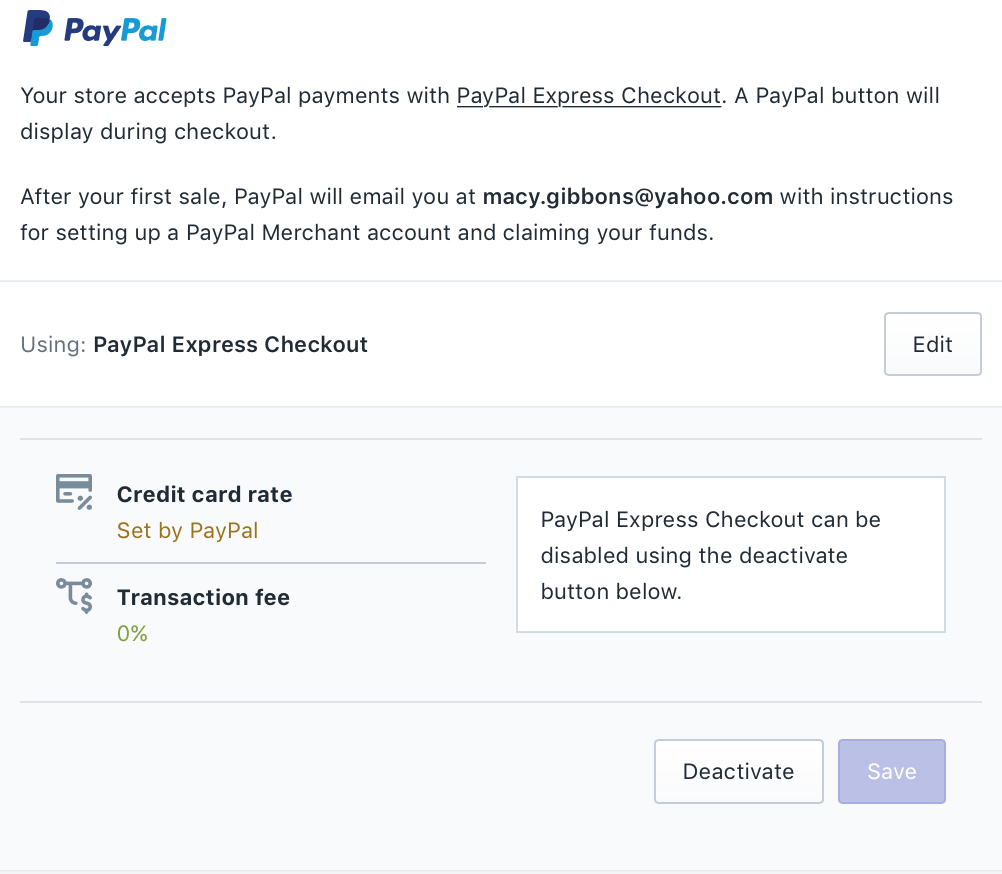 Paypal comes automatically enabled, so you need to deactivate it if you don’t want it on your store. After a customer makes your first purchase, you’ll be asked to link to your PayPal, so have one set up already.
 - Amazon Pay. Amazon Pay lets customers make payments using information stored in their Amazon account. Again, this is about convenience.
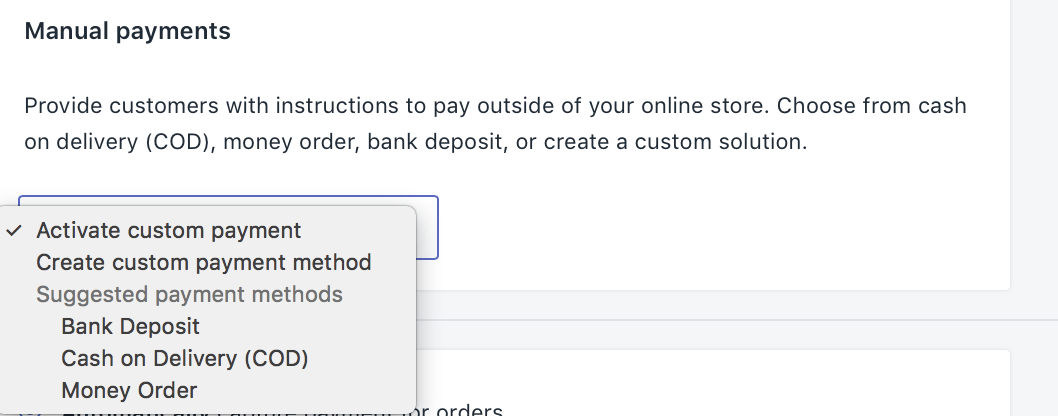
- Manual payments. If you’re open to accepting check, bank transfer or money order, Shopify gives you that option—you just have to enable it.
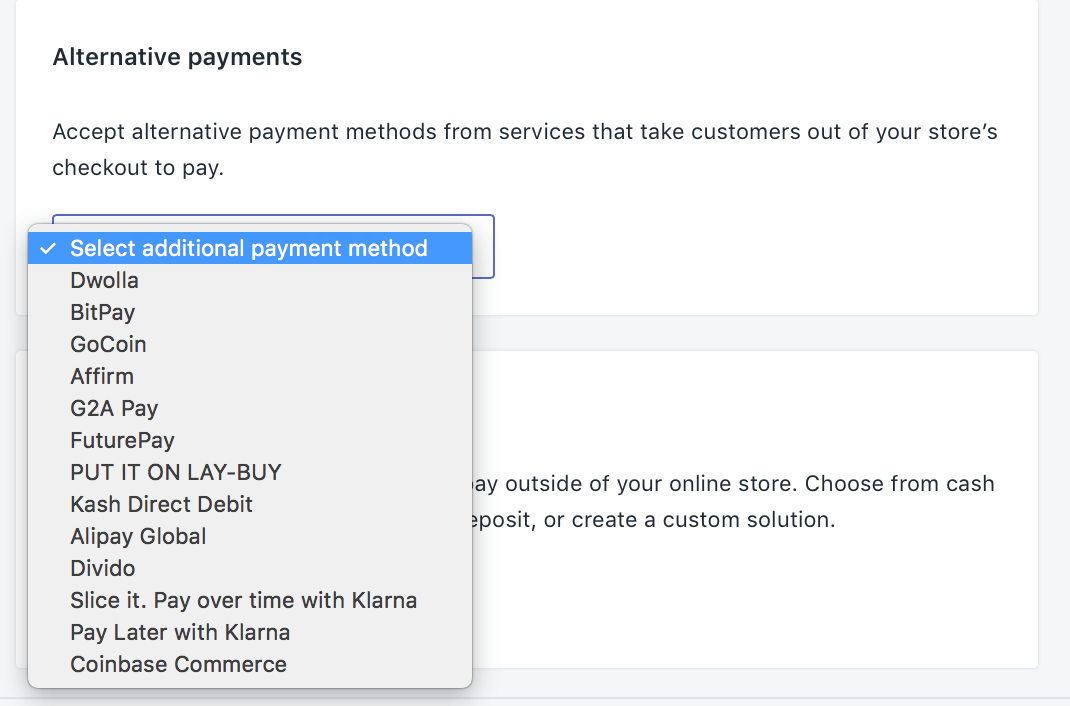
- Other alternative methods of payment. If you want to take payments through more alternative methods, that choice is up to you. You’ll need to enable these manually.
8. Publish Your Shop
Once you’ve got your shop all ready to go, it’s time to start selling. In order to do that, you need to choose a paid Shopify plan and have your store go live.
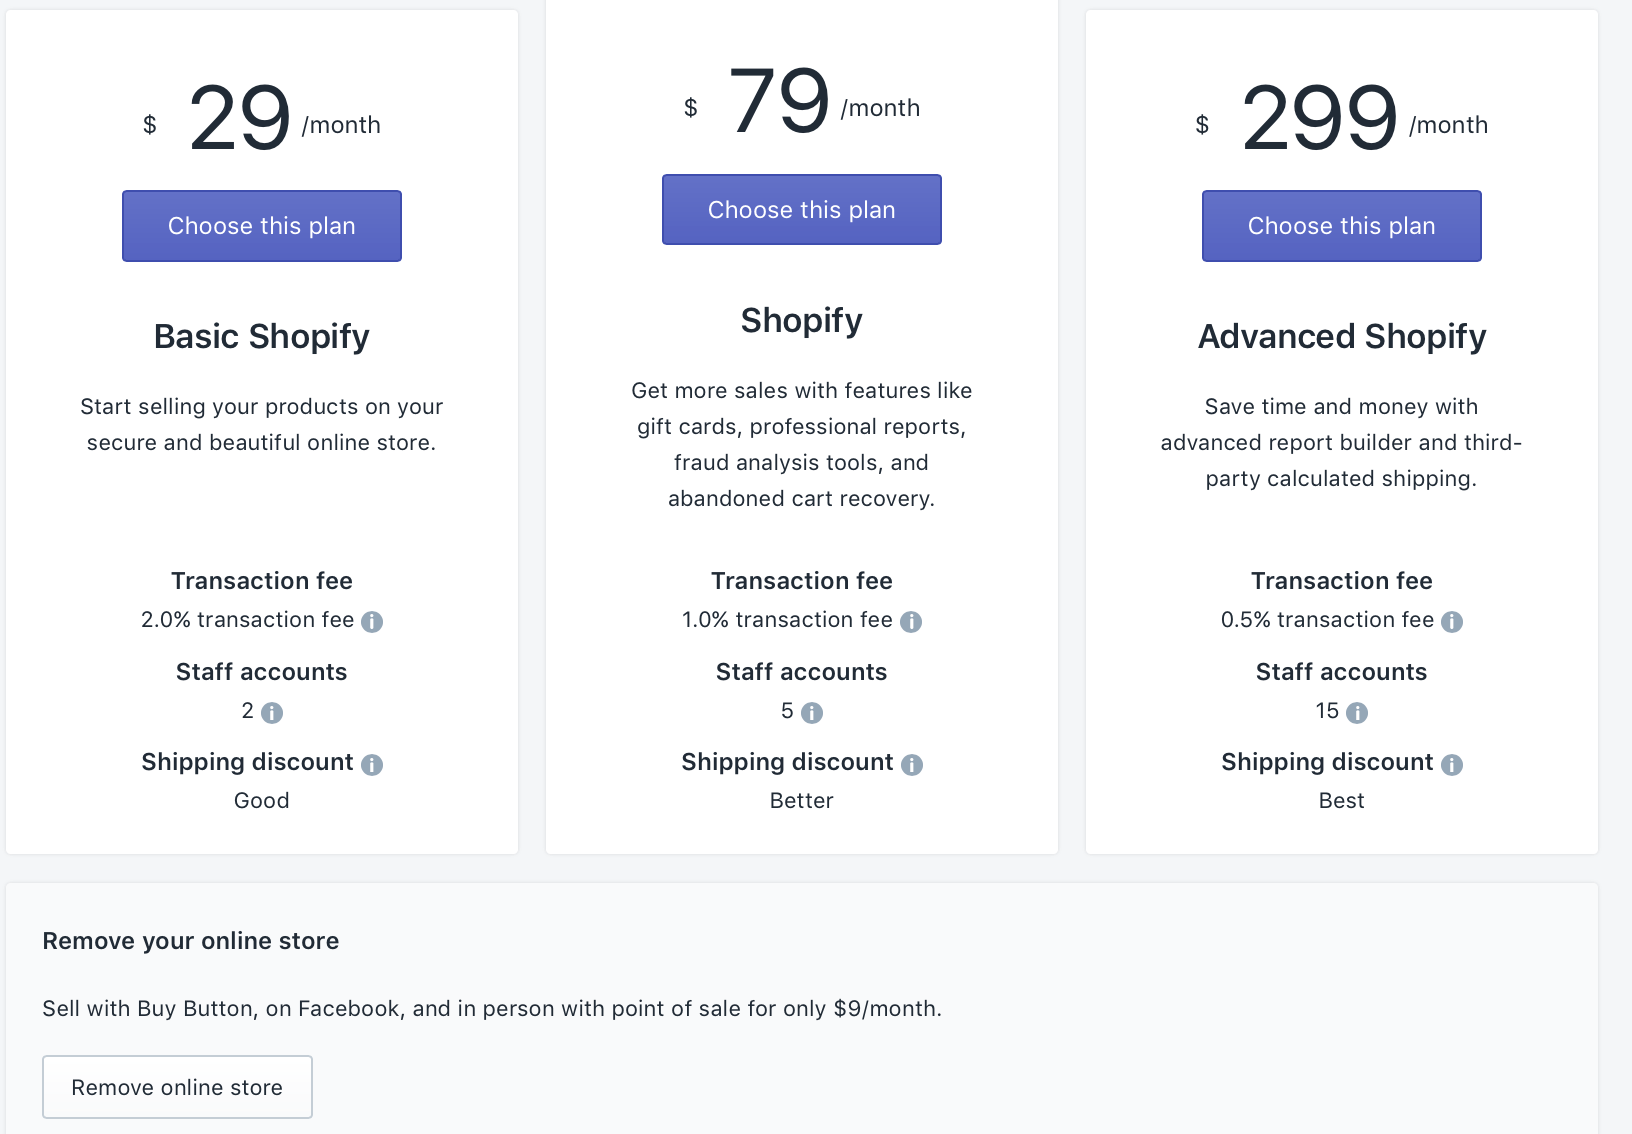
The higher the plan you choose, the less transactional fees you pay. Keep that in mind if you’re operating at a large volume, because some stores will eventually save money by opting for that $299 per month plan with the 0.5% transactional rate. You can see more about these costs here.
Final Thoughts
Shopify is an outstanding ecommerce platform that’s flexible, customizable, and highly reliable.
Whether you’re a small, one-person drop shipping business or corporation looking to scale (or anything in between), Shopify has plans and add-ons that can help you sell more with less effort.
While plenty of brands opt to go with other platforms, make sure you check it out when deciding which ecommerce software you want to use to grow your business.
What do you think? How does Shopify work for your ecommerce business? What tips do you have to set up your virtual storefront for success? Share your thoughts and questions in the comments below!


